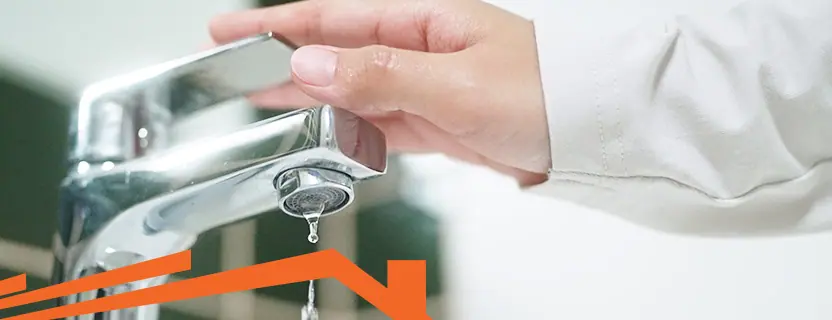
A dripping faucet or water pooling from a leak under your kitchen sink might seem like a minor annoyance, but addressing the issue quickly can save you from serious headaches down the road.
The average family can waste 180 gallons per week from household leaks — that’s 9,400 gallons annually. Beyond the environmental impact, that wasted water is driving up your water bills and potentially causing water damage to your property.
By understanding where your leak is coming from, following proper safety procedures and knowing when to call a professional, you can stop the drip and protect your home.
Not every leak is a DIY project. In fact, some situations require professional expertise to prevent further damage or ensure the repair meets plumbing codes.
You’ll want to call a plumber right away if you’re dealing with:
These scenarios pose immediate health and safety risks that demand expert attention. Beyond emergency situations, DIY repairs aren’t appropriate for complex issues like:
Additionally, if you’ve attempted a repair and the leak persists, it’s time to bring in a professional who can diagnose the underlying issue.
A professional diagnosis prevents further damage by addressing the root cause rather than just treating symptoms. It also ensures all work meets local codes and provides the specialized expertise needed for tricky repairs that could otherwise lead to bigger issues.
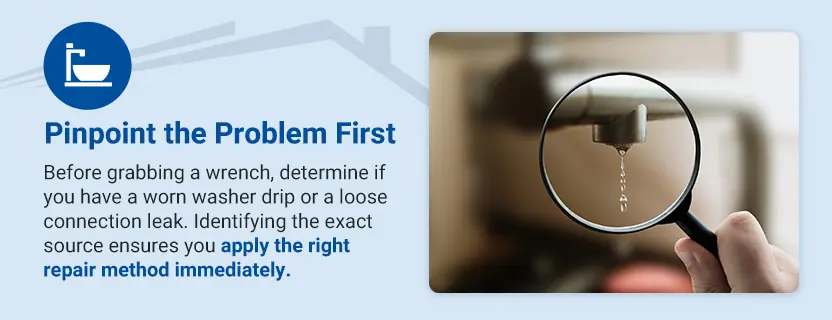
Before you can fix a sink leaking issue, you need to pinpoint the source. Start by distinguishing between a minor drip and an active leak, as this will help you understand the urgency of the situation. A slow, occasional drip might be a worn washer, while a steady stream or pooling water signals a more urgent problem.
Next, check if the leak is from your faucet by running water and watching for dripping from the spout or around the handles. A dripping faucet fix often starts with identifying whether water escapes from the spout or the base, which tells you which components to inspect.
For a leaking kitchen sink, you’ll need to open the cabinet and use a flashlight to inspect the P-trap, pipe connections and drain assembly. As you examine these areas, look for moisture, water stains or active dripping to help you find the problem area.
To identify leaks at pipe joints or compression fittings, carefully examine all connection points where pipes meet. Watch for moisture, mineral deposits or corrosion around compression fittings, as these signs often indicate where the seal has failed.
Safety should always come first when working on any plumbing repair. Following these essential precautions will protect you and your home from accidents or additional damage:
Having the right tools on hand makes any repair easier and more efficient. For most sink leak repairs, you’ll need:
Understanding which type of leak you’re dealing with will help you choose the right fix.
A dripping faucet is one of the most common plumbing issues. To address this type of leak, follow these steps:
If water is leaking from your sink drain, the seal has likely failed and needs attention. Fix drain or strainer leaks by doing the following:
A P-trap is the curved pipe beneath your sink. When a P-trap leaks, it’s often due to worn washers or loose connections.
Use these steps to fix a P-trap leak:
Leaks at pipe joints often occur at supply lines or where pipes connect under the sink, and they’re typically caused by loose fittings or worn compression rings.
Follow these six steps:
Preventing leaks is easier than learning how to fix a leaky sink, and a little routine maintenance goes a long way toward avoiding repairs and keeping the drain clear. Make it a habit to regularly inspect under your sink for moisture or early signs of a leak. Once a month, check all connections, the P-trap and supply lines with a flashlight.
Avoid harsh chemical drain cleaners that can corrode pipes over time, and do not pour clogging agents like grease down the drain.
Schedule professional plumbing inspections periodically to spot potential issues you might miss.
If you’re dealing with a persistent sink leak from the cabinet pipes, corroded pipes or something you can’t identify, Strada Services is here to help. As a fully licensed plumbing company, we provide comprehensive sink leak diagnosis and repair services for homeowners. Our highly trained and professional technicians can handle all types of sink and pipe leaks.
Family-owned and operated since 2003, we’ve built our reputation on core values of accountability, honesty and commitment. We offer 24/7 phone support, so you can reach our team anytime to schedule an emergency or routine plumbing appointment.
Schedule your appointment online or call our 24/7 line at 833-539-7800.